Table of Contents
ToggleGaming is an adventure, and every great adventure needs the right gear. Imagine diving into your favorite game, only to find your controller is playing hard to get. Connecting a PlayStation 4 controller shouldn’t feel like solving a Rubik’s Cube blindfolded. With just a few simple steps, you’ll be back in action, ready to conquer virtual worlds.
Overview of PlayStation 4 Controller
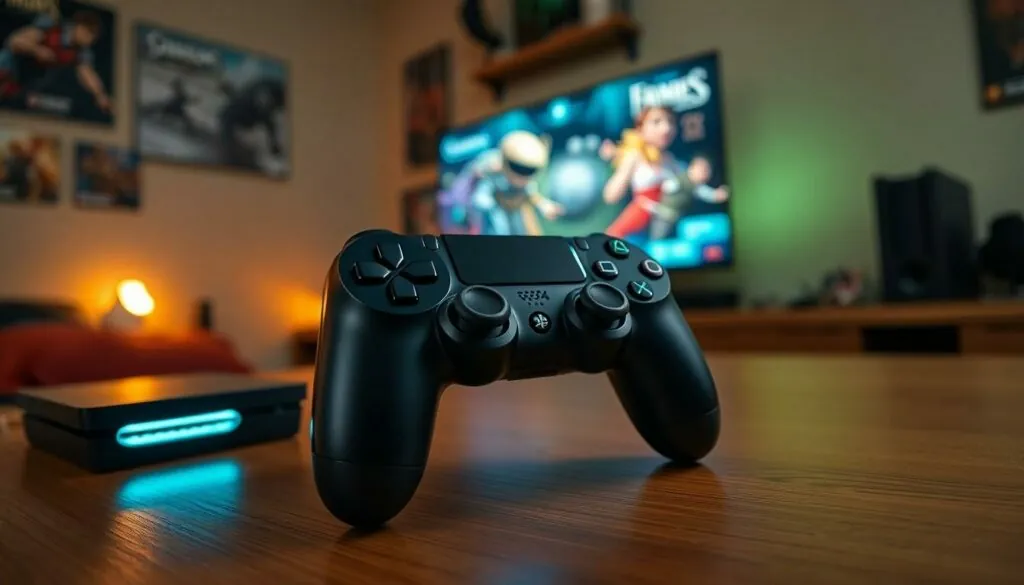
PlayStation 4 (PS4) controllers, also known as DualShock 4 controllers, provide gamers with an interactive gaming experience. Equipped with a touchpad, motion sensors, and a built-in speaker, these controllers enhance gameplay immersion. Connectivity plays a crucial role in ensuring a seamless gaming experience.
Wireless connectivity makes the PS4 controller versatile. Bluetooth technology allows the controller to connect to the console without physical cables. Gamers appreciate this feature for its convenience, as it eliminates cable clutter.
Connection methods vary between wired and wireless options. The wired connection uses a Micro USB cable, providing instant responsiveness and charging capability. In contrast, wireless connections offer freedom of movement, allowing gamers to sit further from the console.
Durability characterizes the design of the DualShock 4 controller. High-quality materials withstand extensive use, ensuring longevity. Additionally, customizable features, such as interchangeable thumbsticks and skins, enable personalization.
Battery life is another significant aspect. A fully charged controller provides up to eight hours of gameplay. Gamers can check battery status through the PS4 interface, allowing for timely recharges.
The PlayStation 4 controller combines advanced features, robust design, and flexible connection options. Mastering its connection process ensures uninterrupted gaming sessions, enabling users to focus on their gameplay without hassle.
Preparing to Connect Your Controller
Connecting a PlayStation 4 controller requires a few essential steps. He or she must ensure everything is ready before proceeding with the connection.
Checking Requirements
Check that the PlayStation 4 console is powered on and functioning properly. Verify the controller is charged to avoid interruptions during gameplay. Confirm the controller does not need to be updated, as software updates can affect connectivity. Ensure Bluetooth functionality is enabled if using a wireless connection. Look for other devices that may interfere with the connection. These factors can impact the pairing process, so addressing them helps establish a smooth connection.
Charging the Controller
Charging the controller enhances the gaming experience. Connect the DualShock 4 to the PS4 using a USB cable. Observe the light bar to monitor charging status; it turns orange while charging and turns off when fully charged. Players should charge the controller for a minimum of two hours for optimal performance. Using a charging dock provides a convenient alternative for those looking to keep their gear organized. Keeping the controller charged ensures players enjoy up to eight hours of uninterrupted gameplay.
Connecting via USB
Connecting a PlayStation 4 controller via USB provides a quick and direct method for gamers. This process requires only a few simple steps.
Step-by-Step Instructions
- Gather a compatible USB cable. The DualShock 4 uses a Micro USB cable for charging and data connection.
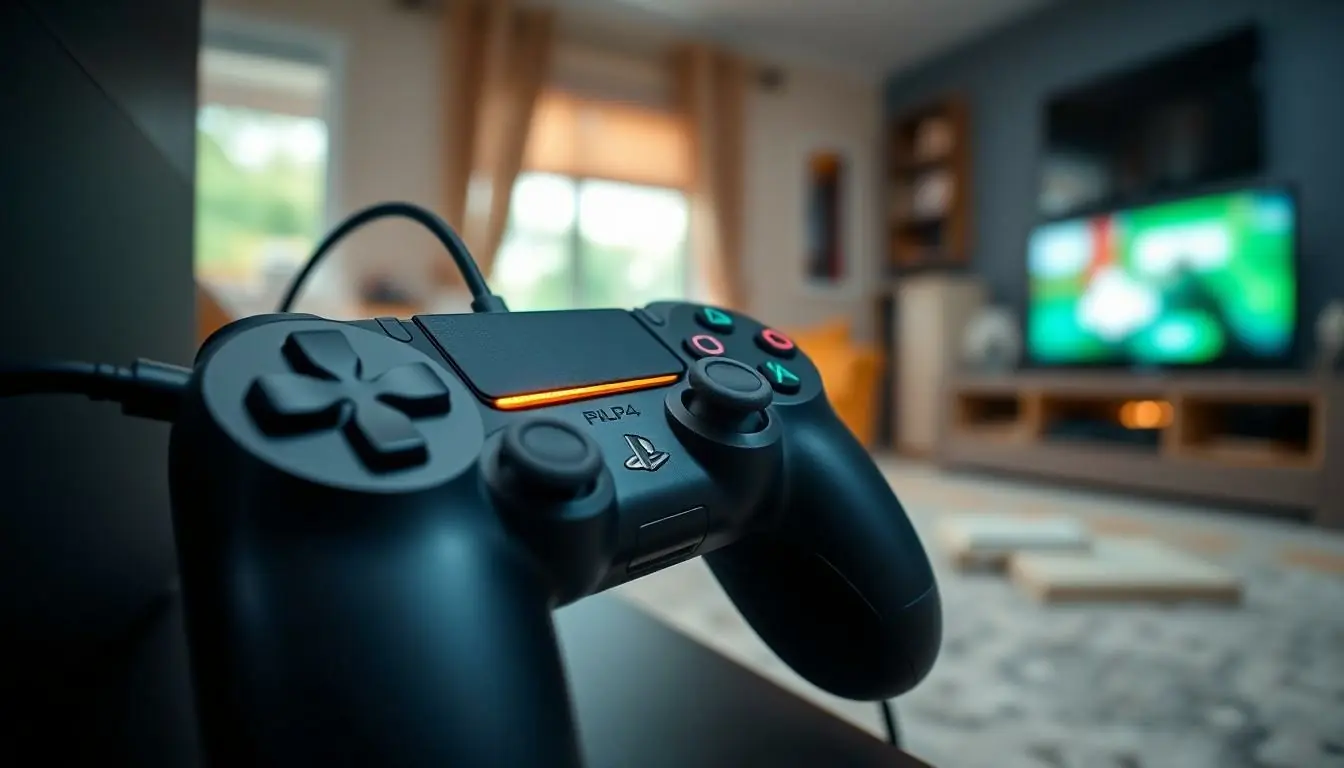
- Connect one end of the USB cable to the controller’s port. Insert the other end into a USB port on the PlayStation 4 console.
- Power on the PS4 system. The controller automatically connects once powered.
- Confirm the connection. The light bar on the controller should illuminate, indicating a successful link.
Troubleshooting USB Connection Issues
- Ensure the USB cable is functional. Testing with other devices can verify its integrity.
- Check if the PS4 is powered on. A non-powered console prevents any connection.
- Restart both the PS4 and the controller. Sometimes a simple reboot resolves connectivity issues.
- Inspect the controller for physical damage. Broken components may hinder connection.
Connecting via Bluetooth
Connecting a PlayStation 4 controller via Bluetooth offers convenience and freedom. Follow these steps for a successful connection.
Step-by-Step Instructions
- Ensure the PS4 console is powered on and close to the controller.
- Press and hold the Share button and the PlayStation button simultaneously on the controller.
- Wait for the controller’s light bar to start flashing, indicating it’s in pairing mode.
- On the PS4 menu, navigate to Settings, then select Devices.
- Choose Bluetooth Devices, then select the controller from the list.
- Confirm the connection by pressing the X button, and the light bar will change to a solid color when connected.
Troubleshooting Bluetooth Connection Issues
If the controller does not connect, check a few things. Ensure Bluetooth is active on the PS4 console. Restarting both devices can often resolve connectivity problems. Verify that the controller is charged; a low battery may prevent a successful connection. If the controller remains unresponsive, attempt resetting it by pressing the small reset button on the back. After resetting, repeat the pairing process to establish a connection.
Testing the Connection
Testing the connection ensures the controller works properly. After establishing a wired or wireless connection, the controller must respond as expected. Users should press the PlayStation button located in the center of the controller. If successful, the console’s home screen appears.
For a wired connection, check for a solid light bar glow. A consistent blue light indicates the controller is active. If the light bar doesn’t illuminate, there might be issues with the cable or the PS4. Inspecting both components often resolves connectivity problems.
In a Bluetooth context, navigation through the settings menu confirms the connection. Look for the controller’s name under the Bluetooth devices section. If it displays, the connection is complete. When facing connection issues, resetting the controller might help. This is done by pressing the reset button located on the back near the L2 shoulder button.
For further assurance, testing in a game can show controller responsiveness. Launch any game to check button functionality and stick movements. If the controller doesn’t respond, troubleshooting steps can include unpairing and re-pairing the device.
Acknowledging the controller’s battery status during testing is crucial. If the battery level is low, gameplay will suffer. Charging the controller for at least two hours before testing often improves reliability.
Ensuring the connection remains stable enhances the gaming experience. Periodically check settings to maintain effective connectivity. Troubleshooting and regular maintenance keep sessions smooth and enjoyable.
Conclusion
Connecting a PlayStation 4 controller is a straightforward process that enhances the gaming experience. Whether opting for a wired or wireless connection, following the outlined steps ensures a hassle-free setup.
By taking the time to prepare the controller and console, gamers can avoid common pitfalls and enjoy seamless gameplay. Testing the connection is crucial to ensure everything functions correctly. With the right approach, players can dive into their favorite games without interruption, making every session enjoyable and engaging.


